![]() In this guide we’ll show you how to:
In this guide we’ll show you how to:
- Create an S3 bucket on AWS
- Set up the correct IAM policy (permissions) for the bucket
- Create a user and some access credentials to connect to your website
Create an S3 bucket on AWS
- Go to AWS Console then sign in or create a new account.
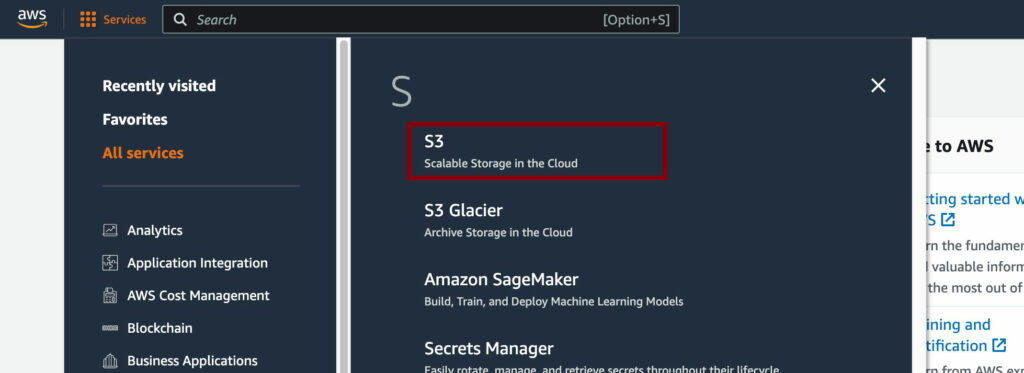
- Go to the S3 service page. Click on the Services menu on the top left, select All Services and then S3.
- Click Create bucket button
- Fill in the bucket name and select a bucket region, and make a note of those – you can leave the other default settings unless you have a specific reason to change them. Click Create Bucket.
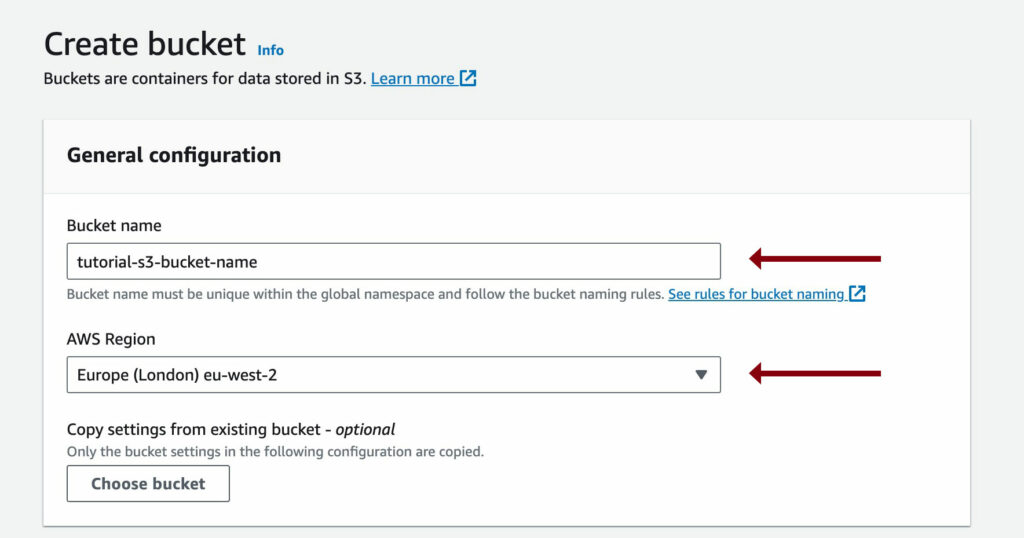
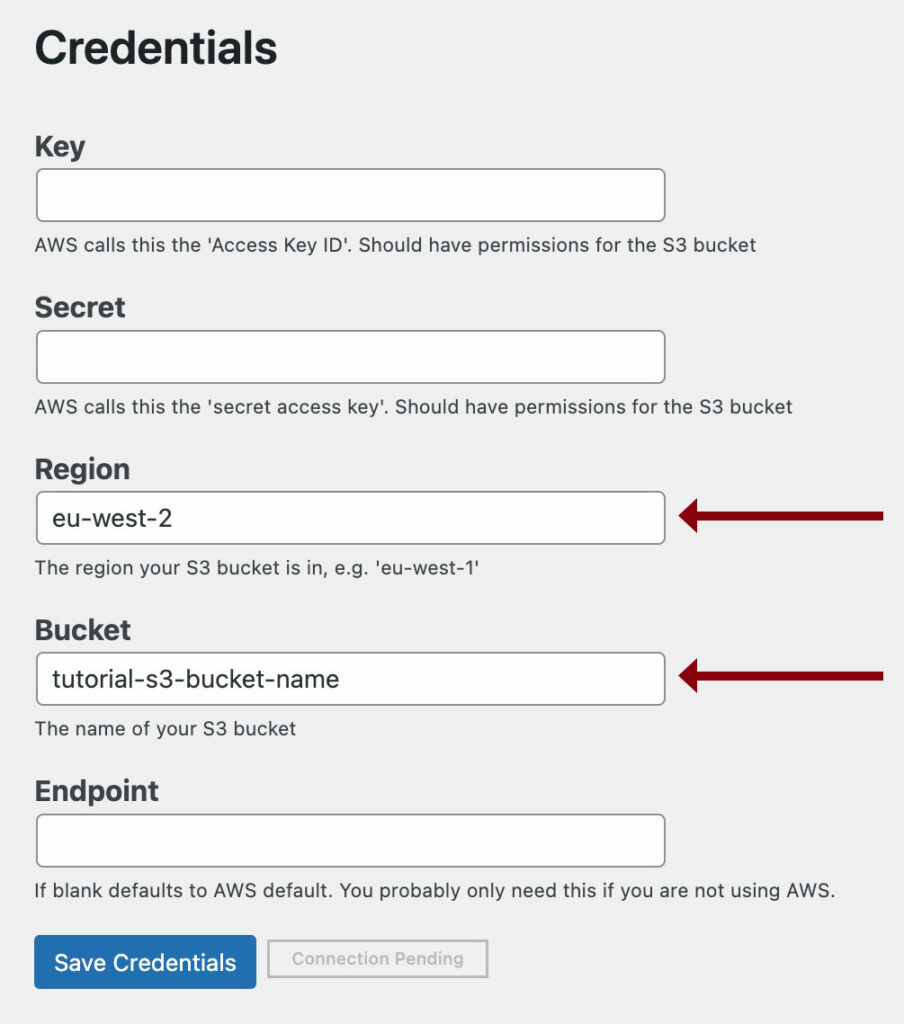
- Go to the Transmit for S3 plugin on your WordPress site. You can now fill in the ‘bucket’ and ‘region’ fields with the name and region selected in the previous step. E.g., You would fill in
eu-west-2for Europe (London) eu-west-2.
Create an IAM policy
- First we need to create a policy for your S3 user. Visit the AWS console again.
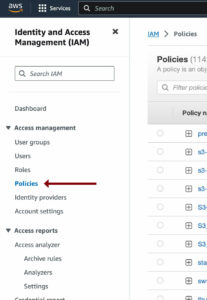
- Go to the Services menu on the top left, click on All Services and then IAM.

- Click on the Policies menu item on the left hand panel.
- Click on the Create policy button.
- Click on JSON.
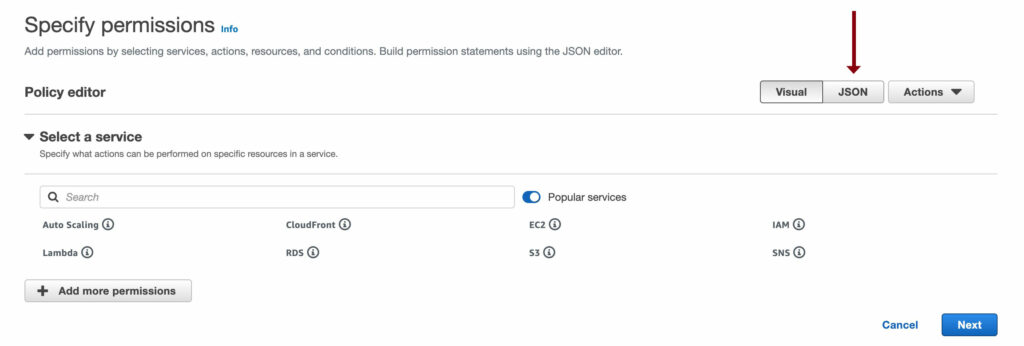
- Replace everything in the field the field with the following:
{ "Version": "2012-10-17", "Statement": [ { "Sid": "Stmt1420044805001", "Effect": "Allow", "Action": [ "s3:ListBucket", "s3:GetObject", "s3:GetObjectAcl", "s3:PutObject", "s3:PutObjectAcl", "s3:ReplicateObject", "s3:DeleteObject" ], "Resource": [ "arn:aws:s3:::your-bucket-name", "arn:aws:s3:::your-bucket-name/*" ] } ] } - Replace
your-bucket-namewith your own bucket name from the previous steps. Note: leave the /* at the end of the second line. - Click Next.
- Give your policy a Policy name.
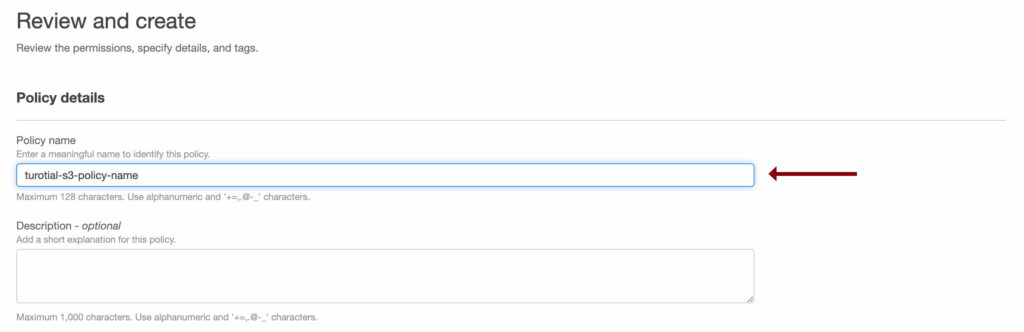
This can be anything you liek, but you’ll need to use it later on. - Click the Create policy button.
Create a User and Access Credentials
- We now need to create a new user. Still in the IAM service, click on the Users menu item on the left hand panel.
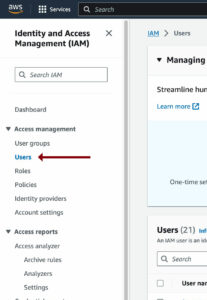
- Click on Create user button
- Fill in a user name. This can be anything you like.
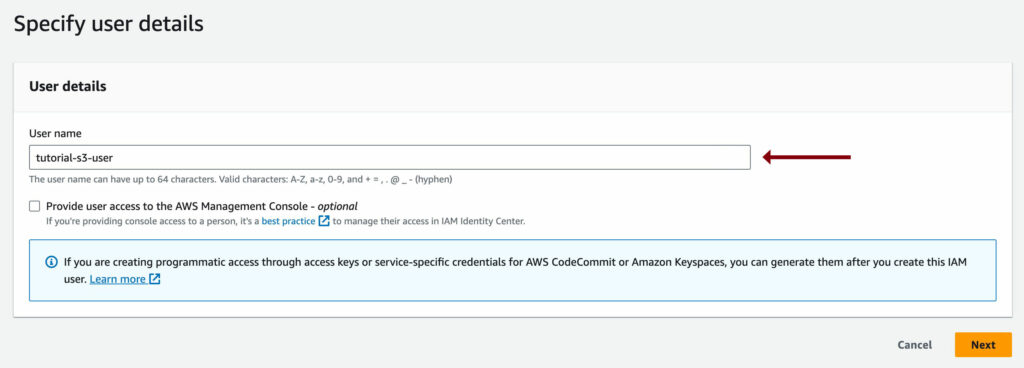
- Click Next
- Select Attach policies directly, then click the refresh button
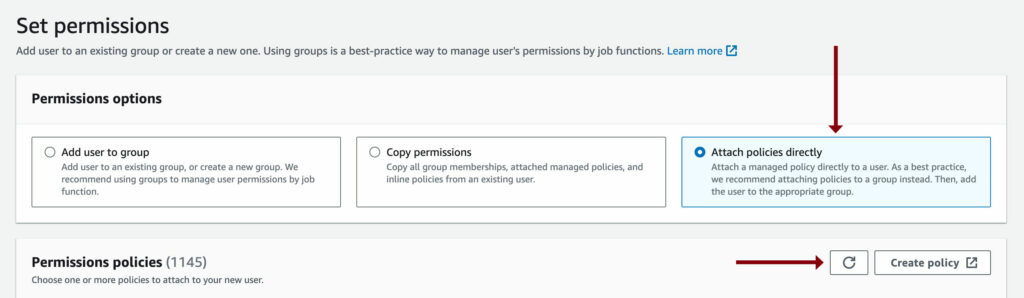
- In the search field, type in your newly created policy name and tick the checkbox to select the policy

- Click Next.
- Click Create user button.
- You’ll be brought back to the Users page. Search for your newly created user name.
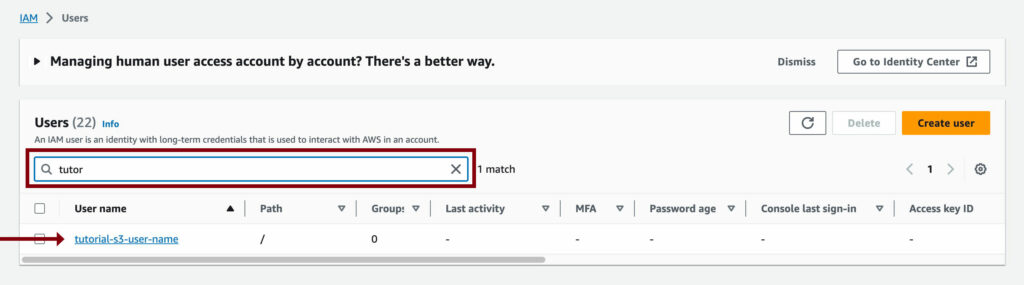
- Click on the user name to edit.
- Click on Security credentials.

- Click on Create access key button.

- Select Application running outside AWS.
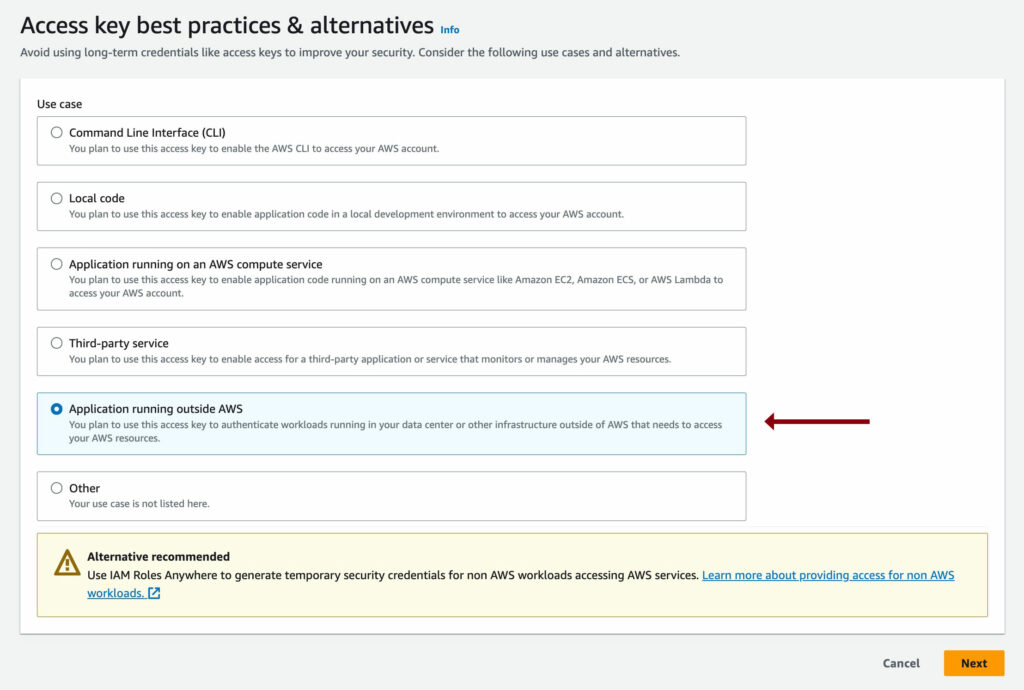
- Click Next.
- Click Create access key button.
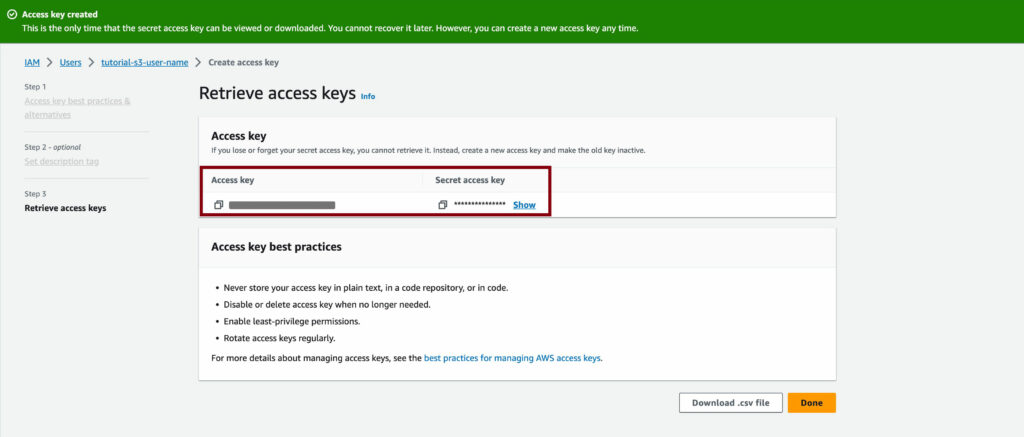
- On the Retrieve access keys page, you will be able to copy the ‘key’ and ‘secret’. Do not save yet as this will take you away from this page.
- Back to the Transmit for S3 plugin settings page on your WordPress site, paste the ‘key’ and ‘secret’ into the relevant plugin settings fields. You can leave the ‘endpoint’ field empty.

- Click the Save credentials button. The connection status should turn green if all is ok.
- Back to the AWS console, click the Done button.
- Click Continue if you see the Continue without viewing or downloading? popup and you’ve already filled in or downloaded the credentials.
- You’re all done!